This document provides instructions for installing or updating PrimoCache on a Windows operating system. Before starting, you should have downloaded the latest PrimoCache installation executable from the Download page.
Install PrimoCache
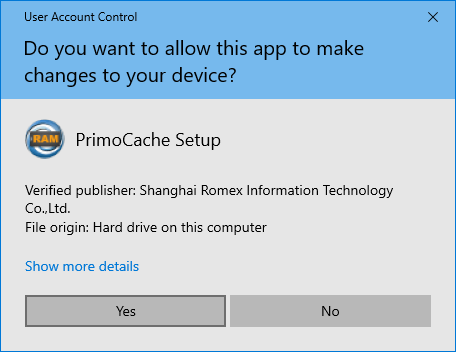
Double click on the PrimoCache installation executable to start the installation wizard. A User Account Control window as below figure may appear to ask you to allow the program to run, click on the Yes button. Don't worry if you don't see this window.
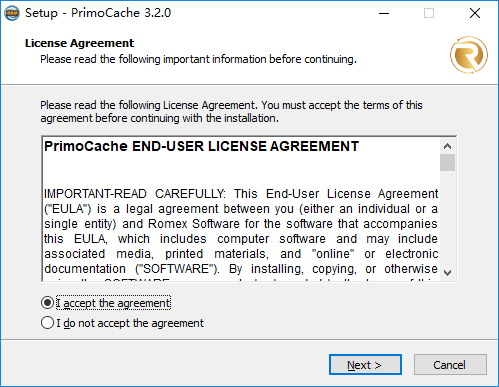
The wizard displays the PrimoCache end-user license agreement. Read through the agreement and click I accept the agreement to continue with the installation. Then click Next.
Select or specify the directory where you want to install PrimoCache, and then click Next.

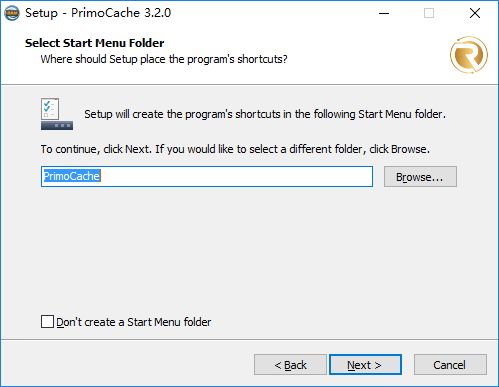
Select the location for the PrimoCache shortcut in the Windows Start menu and then click Next.
Click Install to start the installation.

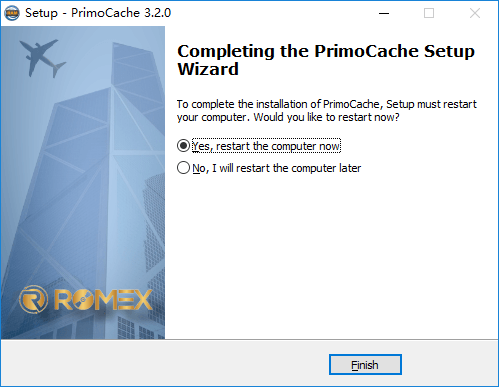
When the installation finishes, select Yes, restart the computer now, then click Finish to restart your computer. If you select No, I will restart the computer later, you need to manually restart your computer to finally complete the installation.
Update PrimoCache
If you have an earlier version of PrimoCache already installed, don't uninstall it. The installation executable for the new version will update and overwrite your existing version, but will carry forward all your licenses and configurations. They will be removed if you do the uninstallation.
Double click on the PrimoCache installation executable to start the update. The update process is essentially same as the installation process. You also need to restart your computer to apply new version.